After upgrading our studio with some professional (Read: expensive) gear, I wondered if their were any cheaper alternatives I could find online for independent artists recording at home that were decently priced and had good reviews.
So in between sessions, I’ve been searching online and found these 10 goodies every home studio needs but usually forgets or cheaps out on.
1. Microphone Shield
One of the biggest issues artists have recording at home is dealing with their room’s ugly reverb and flutter echo finding it’s way into their recordings.
As an audio engineer, mixing and mastering your songs, it’s a pain to deal with and if you have no idea what reverb or flutter echo is, stand in your room and clap your hands one time and you’ll hear this echo bounce off the corners of your room.
When you record vocals the echo bounces around your room into the mic ruining your recordings.
The most cost effective way to deal with this is to get a mic shield. Keep in mind, a mic shield will not completely get rid of the reverb and flutter echo in your recordings, but will lesson it and they do look pretty sleek.
Checkout this post we did, if you need a good microphone for vocals.
The best reviewed mic shield on Amazon is the Newer Microphone Isolation Shield.

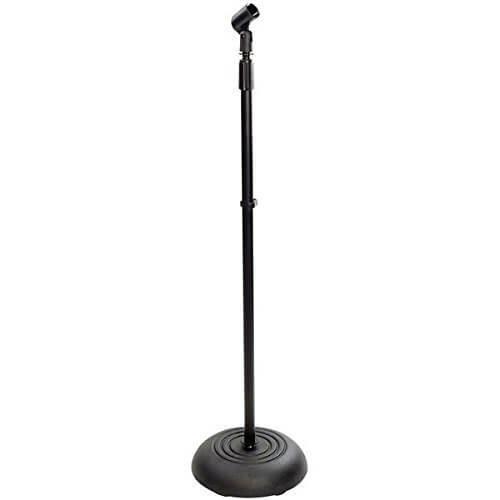
2. Mic Stand
If you’re getting a mic shield, you’ll also need a solid mic stand to connect the mic shield to (don’t cheap out on a mic stand cause they’ll last years), they usually connect to the mic stand and then your mic will connect to the mic shield.
The reason you want a solid mic stand is because when you connect a condensor mic and mic shield to it the weight will likely be around 3-6 pounds and if you’re mic stand doesn’t have a sturdy base, one bump and it’ll topple over ruining your walls and damaging your mic shield or worse your mic (I’m speaking from experience here as I’ve had my mic shield break after toppling over).
The top reviewed mic stand on Amazon is the Pyle Mic Stand which has a base weighing 9.92 lbs, which is also one of the most sturdiest.
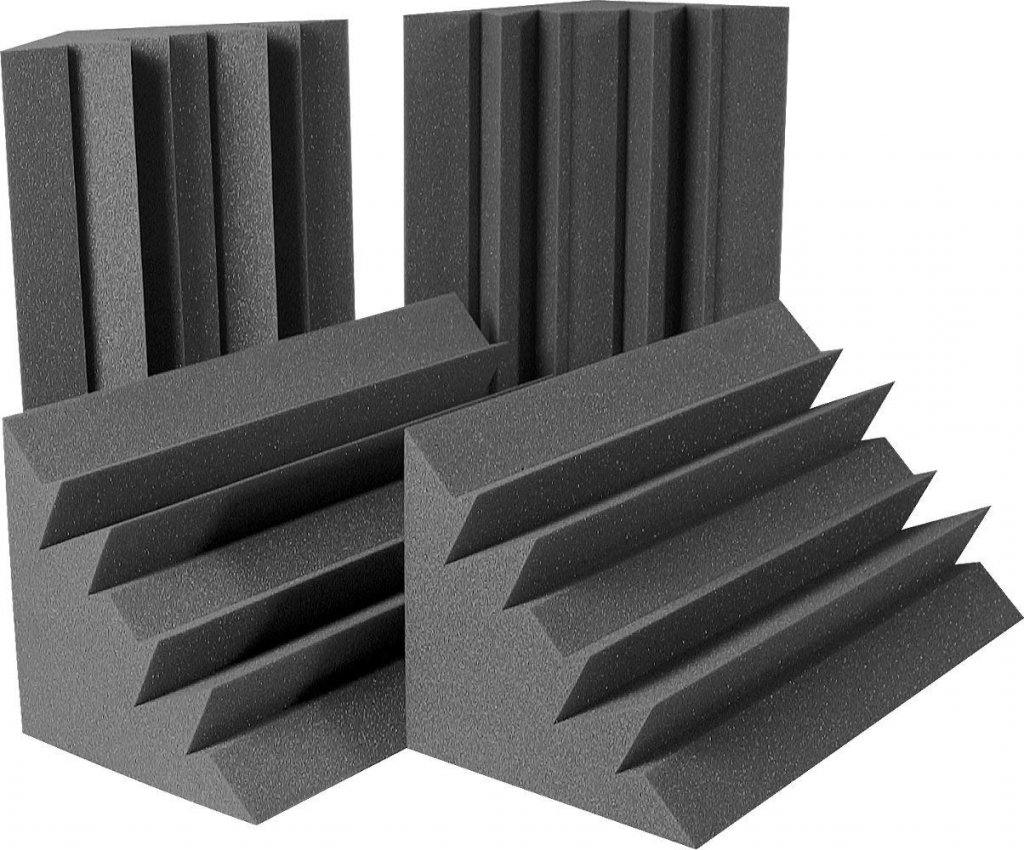
3. Bass Traps
I cannot stress how important having good quality bass traps in your home studio is to recording vocals.
If you buy four bass traps and put them up at the top of each corner in your room, it’ll decrease the amount of reverb and flutter echo in your recordings substantially.
The thing is on Amazon there’s a lot of cheap poor quality bass traps being sold and I cannot recommend them in good conscious. One of the top brands when it comes to bass traps is Auralex or any brand that sells their bass traps for about $50 each – anything less than that and you”re getting some cheap foam that’s not going to work and not worth the hassle, that’s because bass traps don’t just help with hearing bass correctly, they can absorb all low, mid and high frequencies (and guess when your vocal’s frequencies are?).
A good trick for installing your bass traps if you don’t want to ruin your walls is to glue or use strong double sided tape to connect your bass trao to a piece of cardboard and then use poster adhesive to connect the cardboard bass trap to the corners of your room.
The best bass traps for vocal recordings are Auralex Bass Traps.
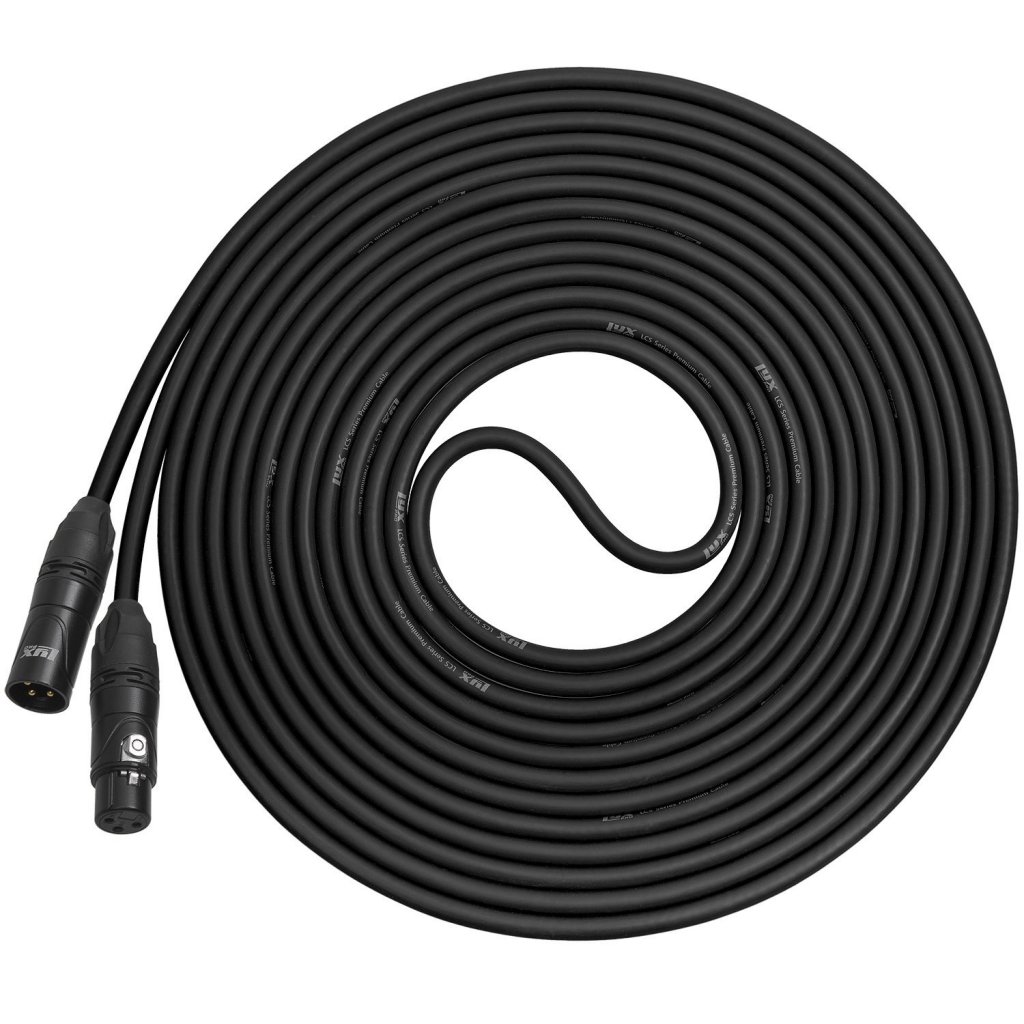
4. XLR Cables
Most people cheap out on cables and it’s not a good idea as that’s what’s delivering your sound from your mic to your computer. Amazon sells their own brand of XLR cables which are dirt cheap but which are likely prone to interference (you know ground hum or static) and if you have a good condenser mic will likely not be able to power it up. If you just need cheap cables for your speakers, I’m sure they’re okay but I would recommend going for premium balanced XLR cables as they last you for life.
The best XLR cables on Amazon are the LyxPro Balanced XLR Cables.
5. Studio Chair
Since I’m sitting pretty much all day in the studio, I needed a comfy chair and the one I was previously using just wouldn’t cut it.
I would end the day with severe neck and back pain as well as headaches, which I just chalked up to mixing and mastering music. And so my search for the most comfiest chair began.
Now the problem with buying a chair online is that you have to put it together and then sit on it to see if it’s for you. I and I’m guessing you probably don’t have that kind of time to waste assembling and returning office chairs.
So what I did was go into stores (rememeber those?) and physically sit in every office chair that looked comfy. And then once I found the one I liked, I ordered it online (cause who wants to drag a chair home?).
If you’re tall over 6 foot (like me), I would stay away from the small mid back support chairs and splurge on an executive office chair. The best one I found was at Costco, the first time I sat in it, was life changing.
I didn’t even care that the chair was kind of ugly, even now I look forward to sitting in this chair to work whereas before I would dread sitting in my old chair.
I have no clue who makes this chair, on Costco’s site it’s just called the Executive Office Chair.

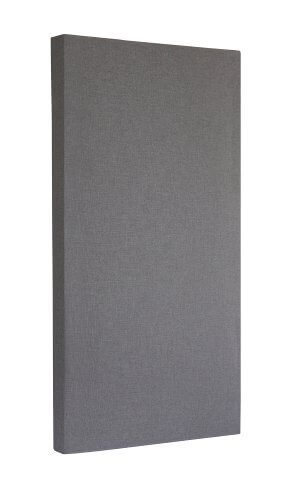
6. Acoustic Panels
Assuming you took my advice and got bass traps first, the flutter echo and reverb in your room should be greatly reduced but you’ll likely still have some reverb adding a metalic like sound bouncing around in your room. The only way to get rid of this is by placing acoustic panels around the room.
You don’t need that many and you don’t need to cover every wall, depending on the size of your room (say 10 feet by 8 feet) you could use as little as 4 acoustic panels (2 panels on one wall, 2 panels on the connecting wall).
The main thing with acoustic panels is placement. In my own studio, if I remove just one acoustic panel from this certain spot, I’ll get that metallic sounding flutter echo.
For sizing I always get panels that are 4 feet by 2 feet, just because I don’t want to be wasting time hanging smaller panels, which is why I recommend getting these ATS Acoustic Panels.
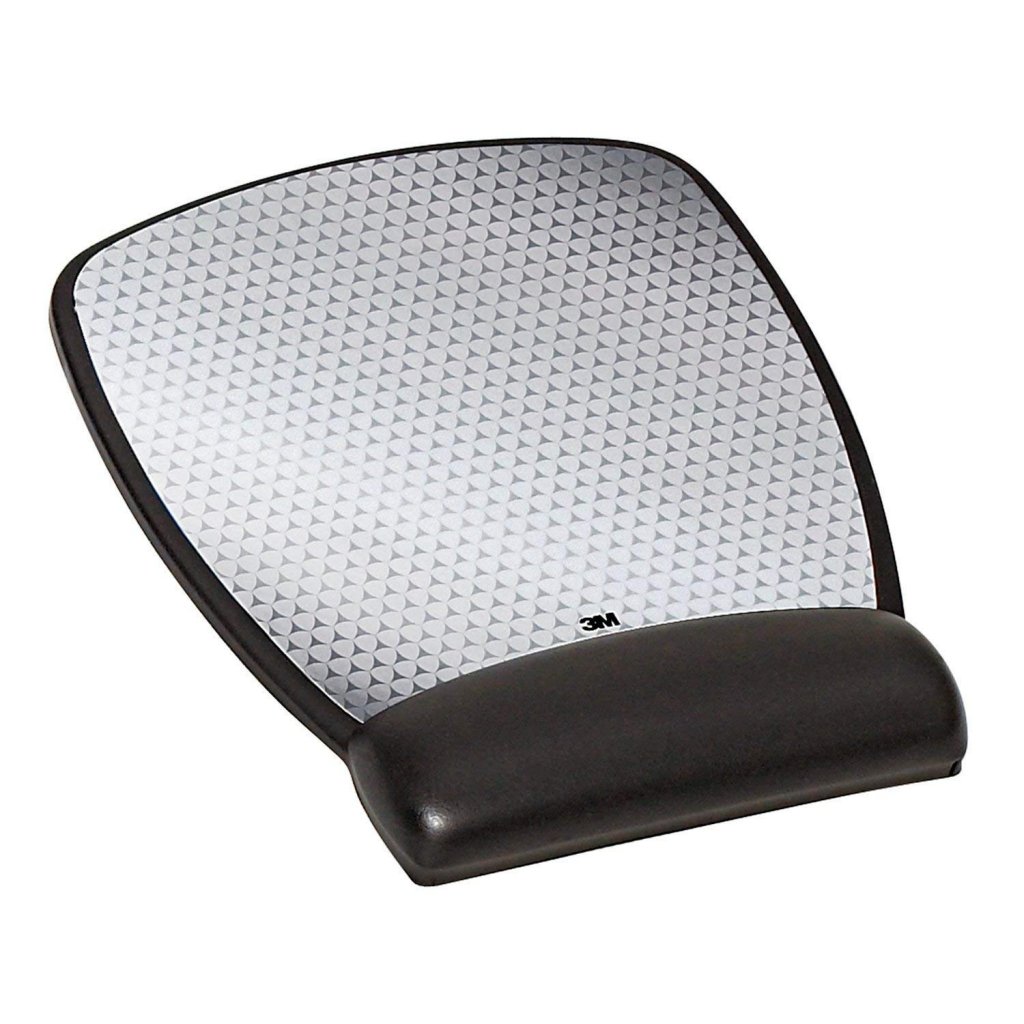
7. Mouse Pad
One thing everyone overlooks is their mouse pad.
I know I had some cheap computer store mouse pad which was basically a thicker piece of paper, even though I would have wrist strain every night, I neglected it cause I’m the type of person to get lost in my work.
It’s only when I scooped up this mouse pad with wrist pad that my wrist strain went away.
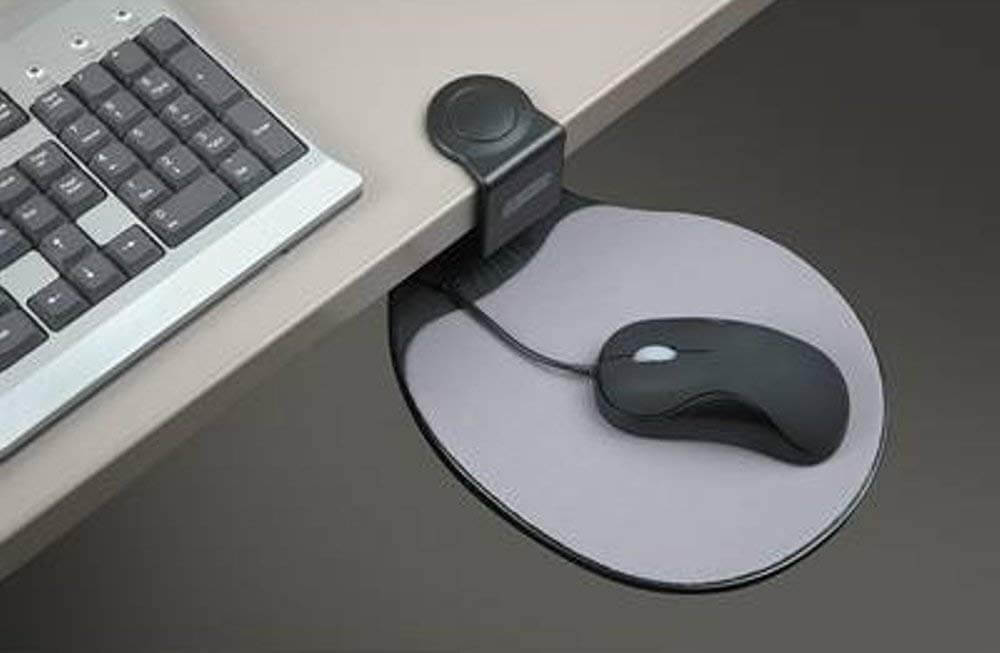
8. Mouse Platform
Speaking of stepping up your mouse pad to reduce wrist strain, you also need to have your mouse positioned correctly.
Most chiropractors I’ve seen online, recommend your mouse to be at the same level as your keyboard and at the same level as the armrest on your chair’s armrest.
The most reviewed mouse platform (and I recommend) is the Aidata Mouse Platform.
More Studio Goodies